Create a Stunning Quilled Peacock Using Nothing But Paper and a Few Simple Techniques
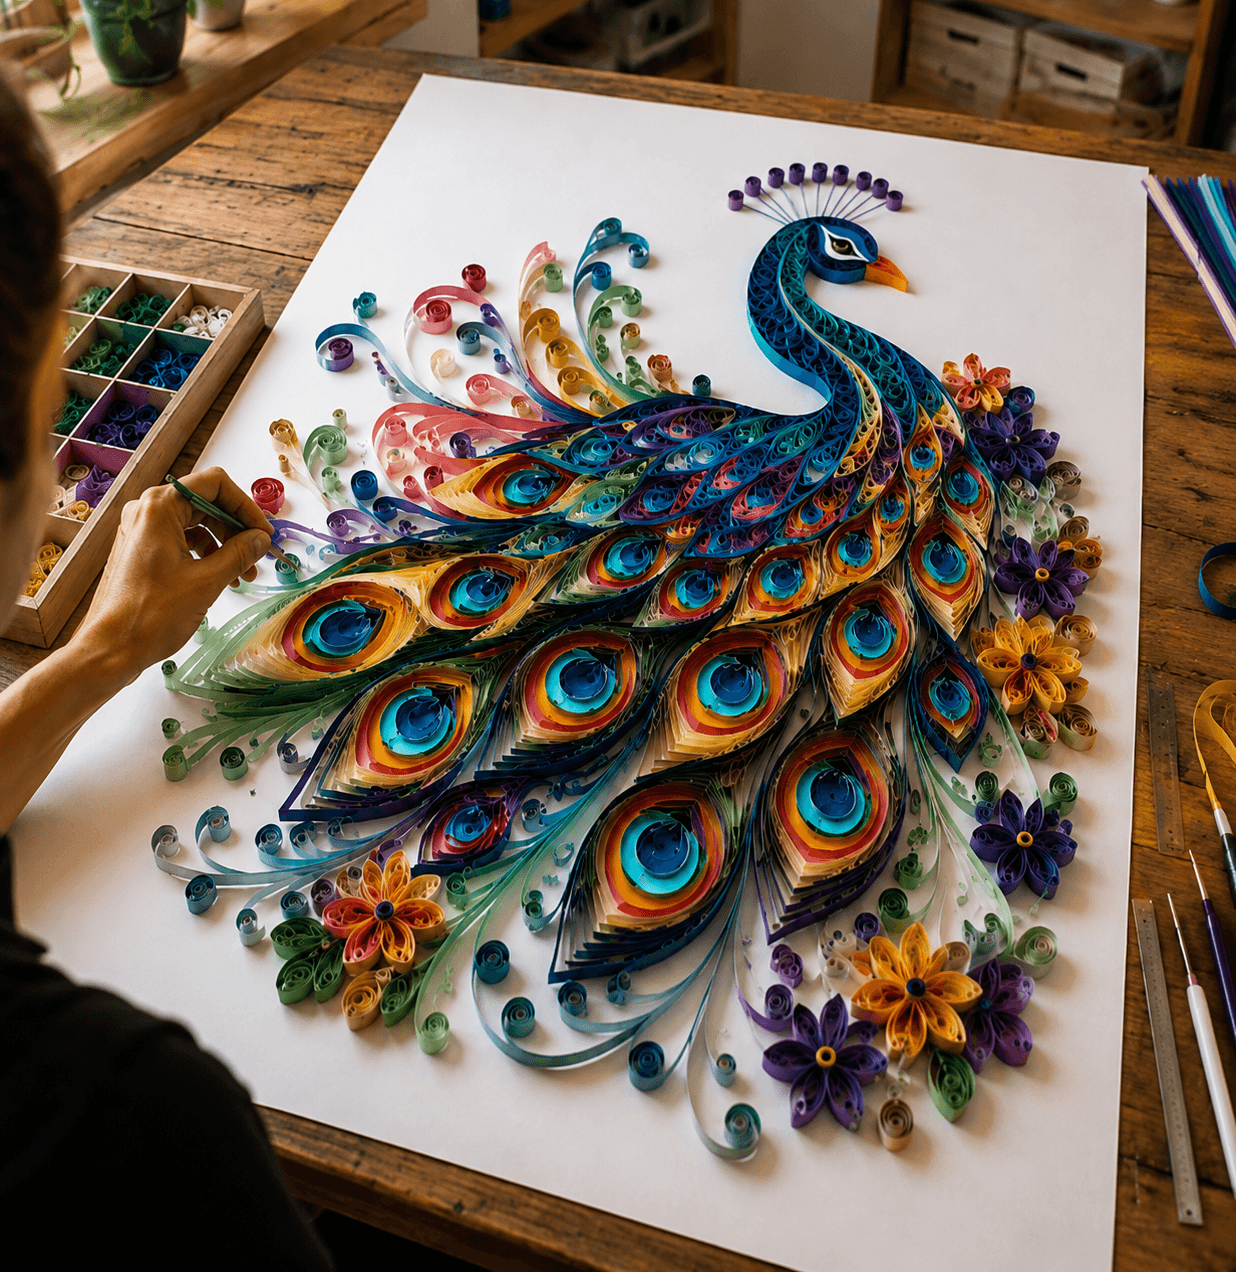
...even if you've never rolled a strip of paper before.
Imagine...
→ Pulling this peacock off your wall to show a dinner guest... watching their face shift from polite interest to genuine disbelief when you say, "I made this myself."
→ Or sitting at your craft table on a quiet Sunday afternoon, rolling strips of paper into perfect quills, completely absorbed... watching something beautiful take shape under your own hands.
→ Wrapping this piece as a gift and handing it to someone you love... seeing the exact moment they realize it isn't store-bought or machine-made. It's art you created, strip by strip, from scratch.
Have you ever seen a peacock like this and thought:
"Oh my gosh. That's made from PAPER?!"
So you saved it. Maybe even bought the supplies.
Then you sat down to try it, and within twenty minutes, you were staring at a pile of lopsided quills and paper strips that refused to cooperate.
You turned to YouTube. Plenty of tutorials. But most jump straight into technique without ever explaining the thinking behind it.
There's no process, no logical order. Just movements to copy. So you put the supplies in a drawer. You told yourself you'd come back to it sometime. Weeks passed...
Here's the truth:
It's not that you lack talent. It's that nobody showed you where to start. Most people jump straight into a complex project with no foundation under them, then blame themselves when it doesn't work.
The people who make pieces like this peacock aren't more gifted than you. They just learned in the right order. Foundations first. One skill at a time. Each step building on the last.
That's all this is, a clear path from your very first quill to a finished piece you're genuinely proud of. Follow the steps, and the peacock takes care of itself.
But first, let me introduce myself...
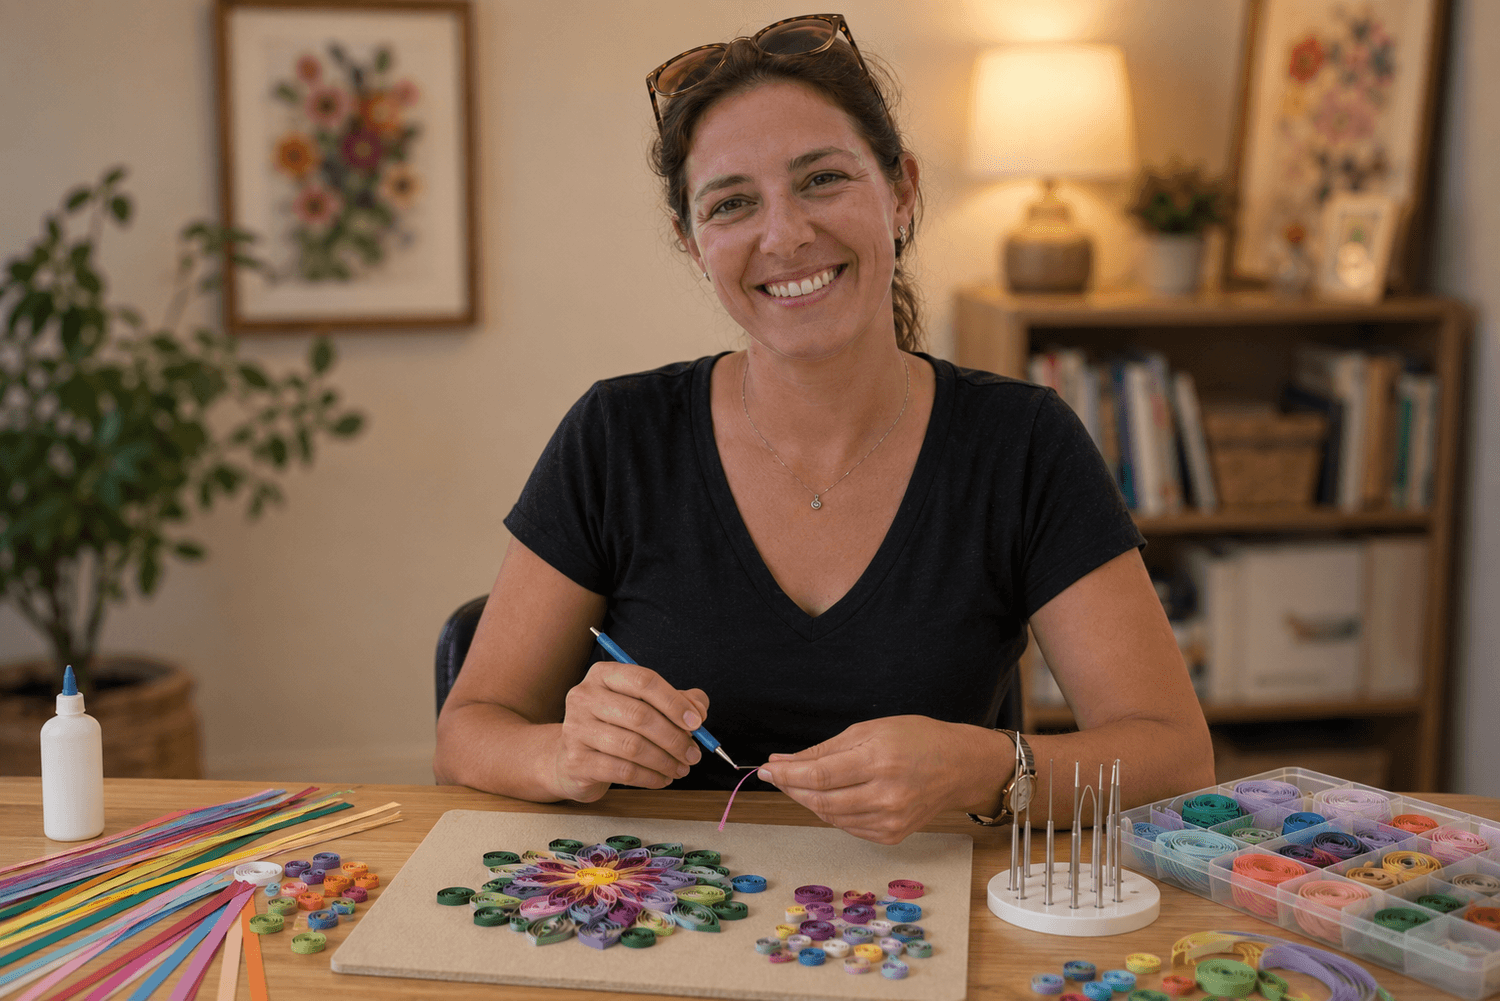
Hi, I'm Sophie. I'm a paper quilling artist and, honestly, a little obsessed with color.
I discovered quilling five years ago by accident. I stumbled across a photo online, couldn't figure out how anyone had made it from paper, and spent three hours that night trying to recreate it. I was hooked.
Now I spend my days teaching complete beginners how to create something they genuinely can't believe they made themselves. No experience needed. Just patience, and the right guide.
Introducing
The Peacock Quilling Workshop
The complete, beginner-friendly path to creating a vibrant, gallery-worthy paper-quilled peacock from simple paper strips.
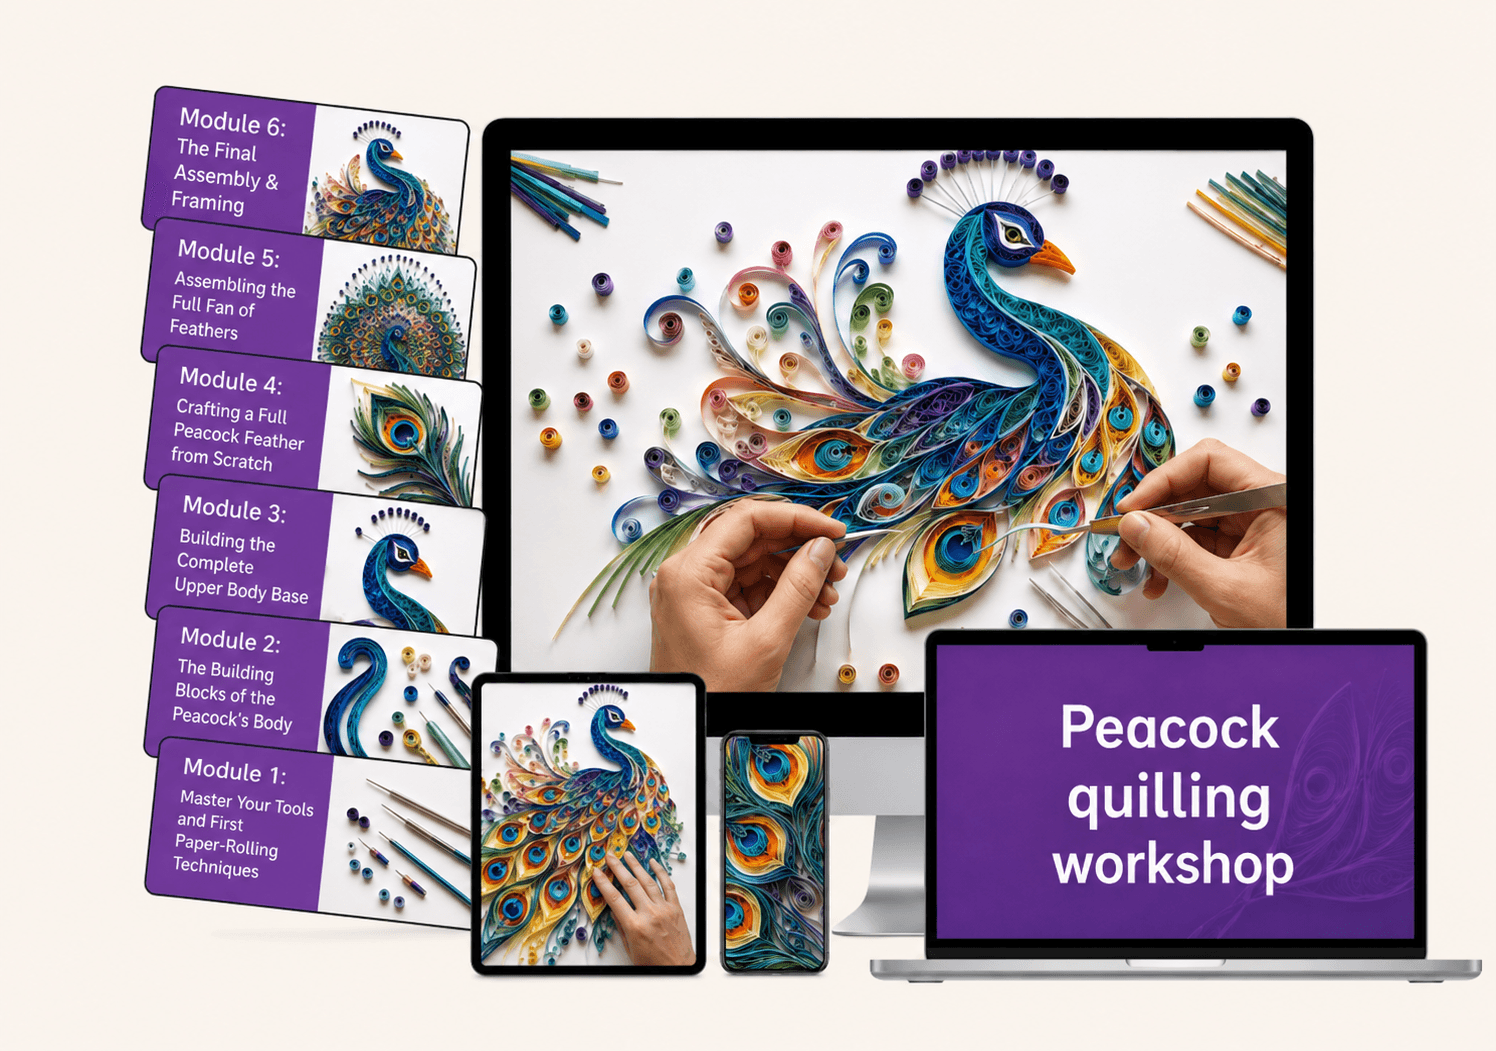
Here's A Small Taste Of What's Inside
Six step-by-step modules that take you from your very first paper quill to a finished, framed peacock.
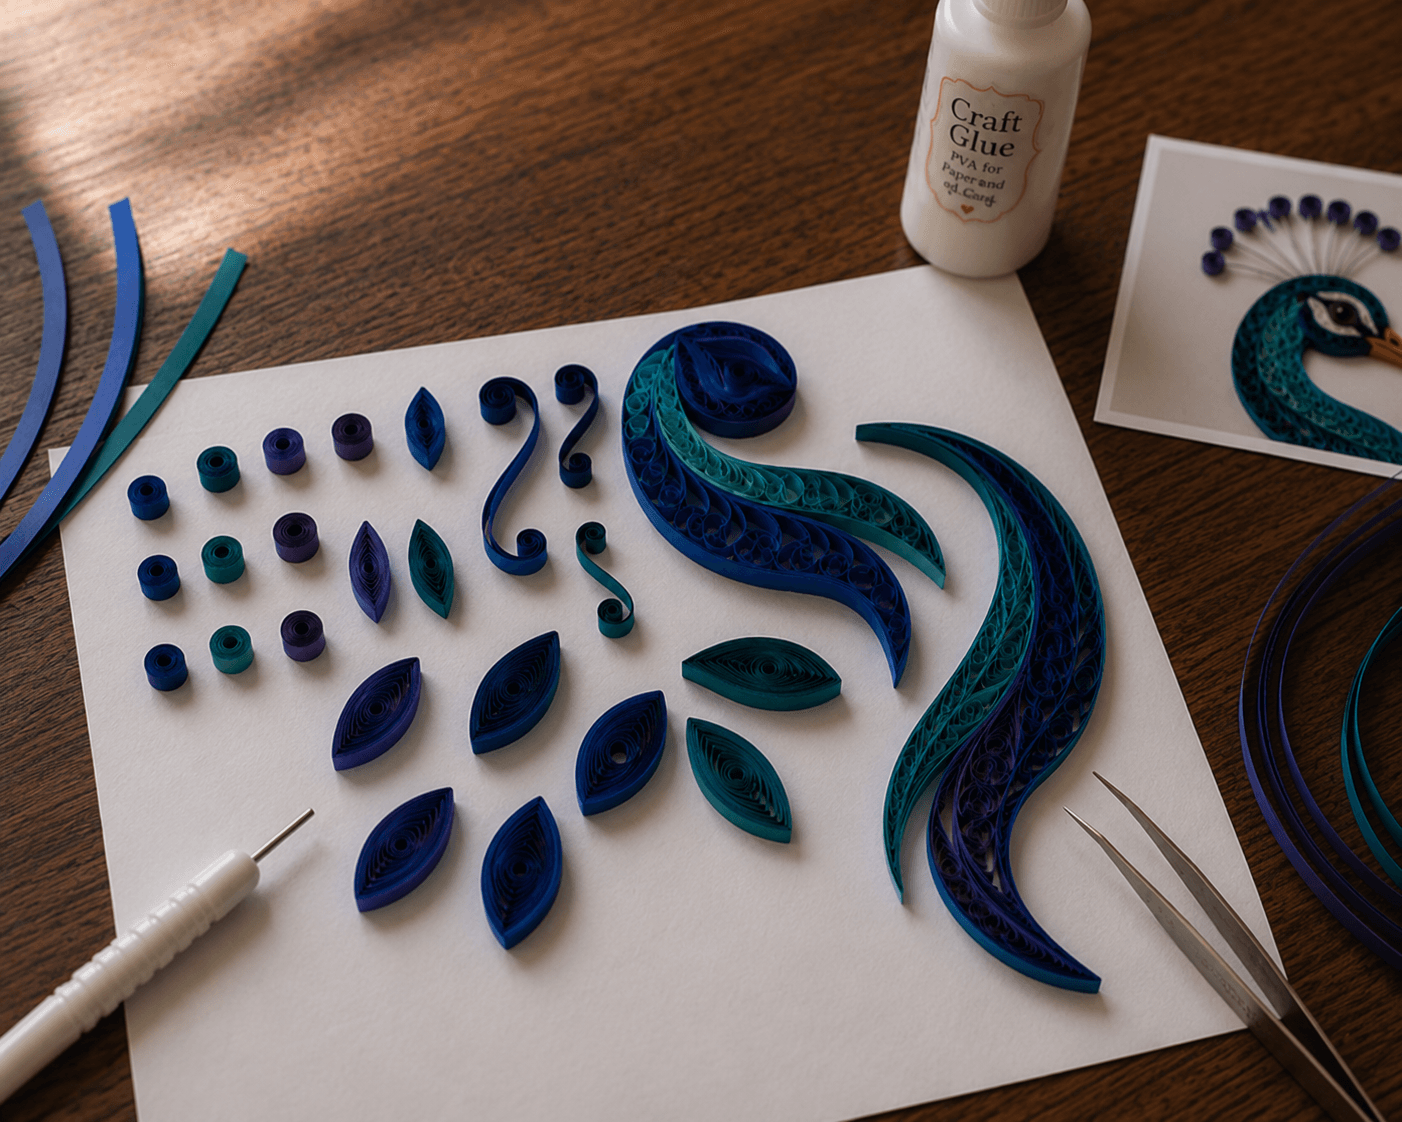
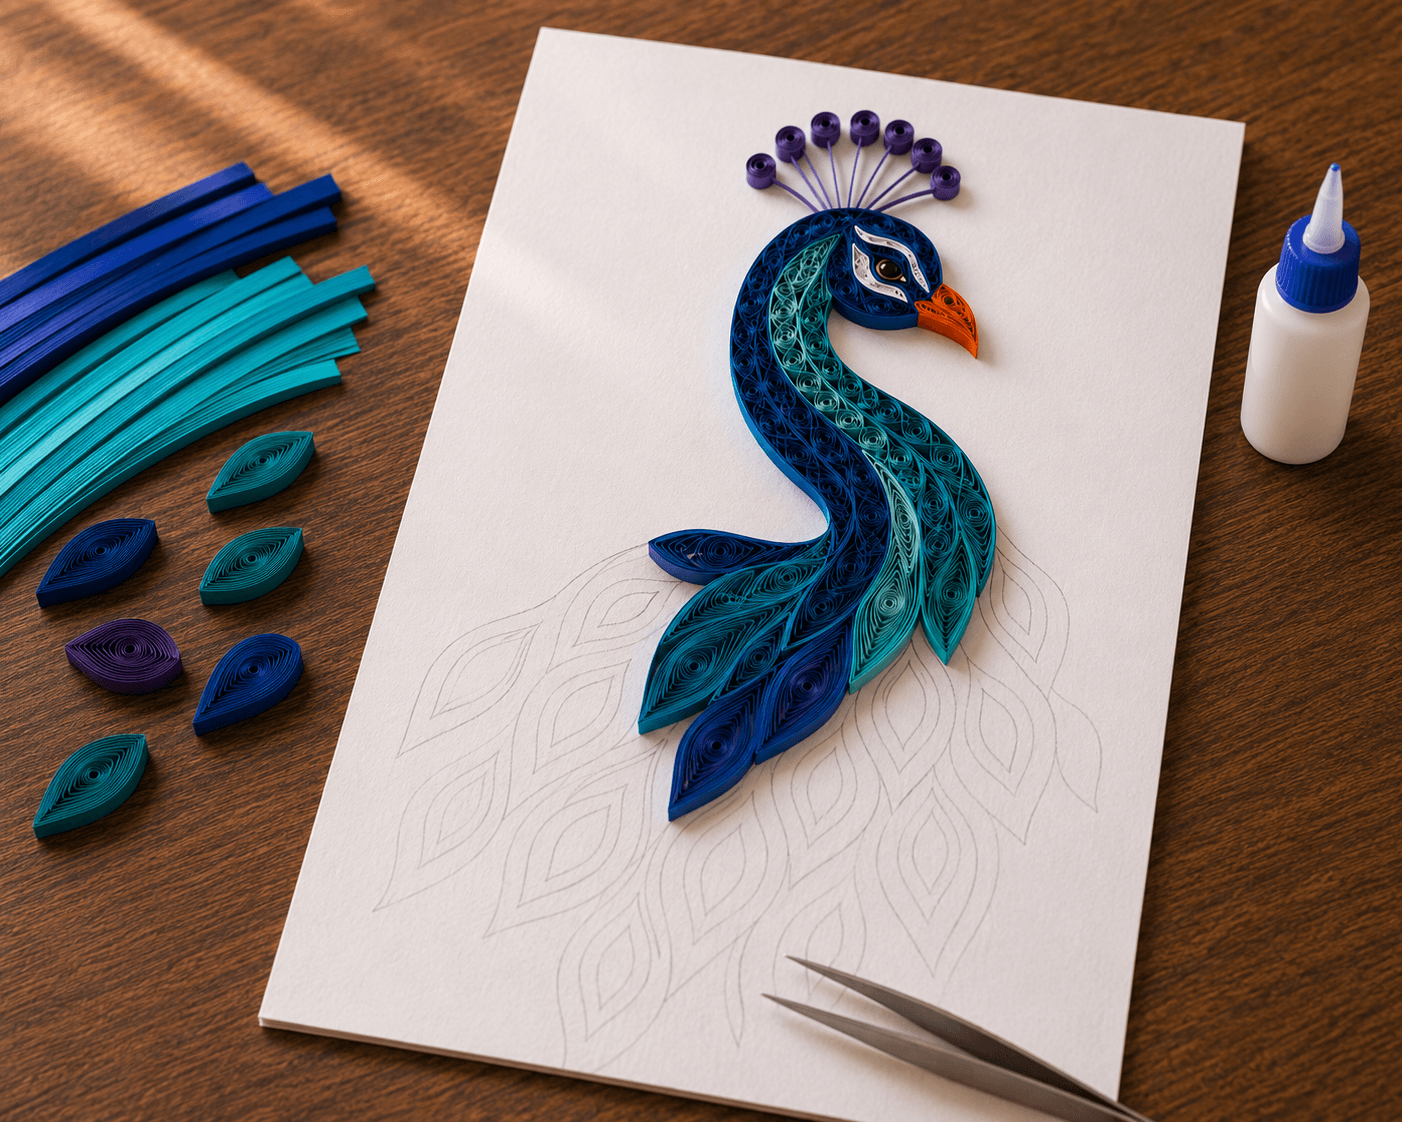
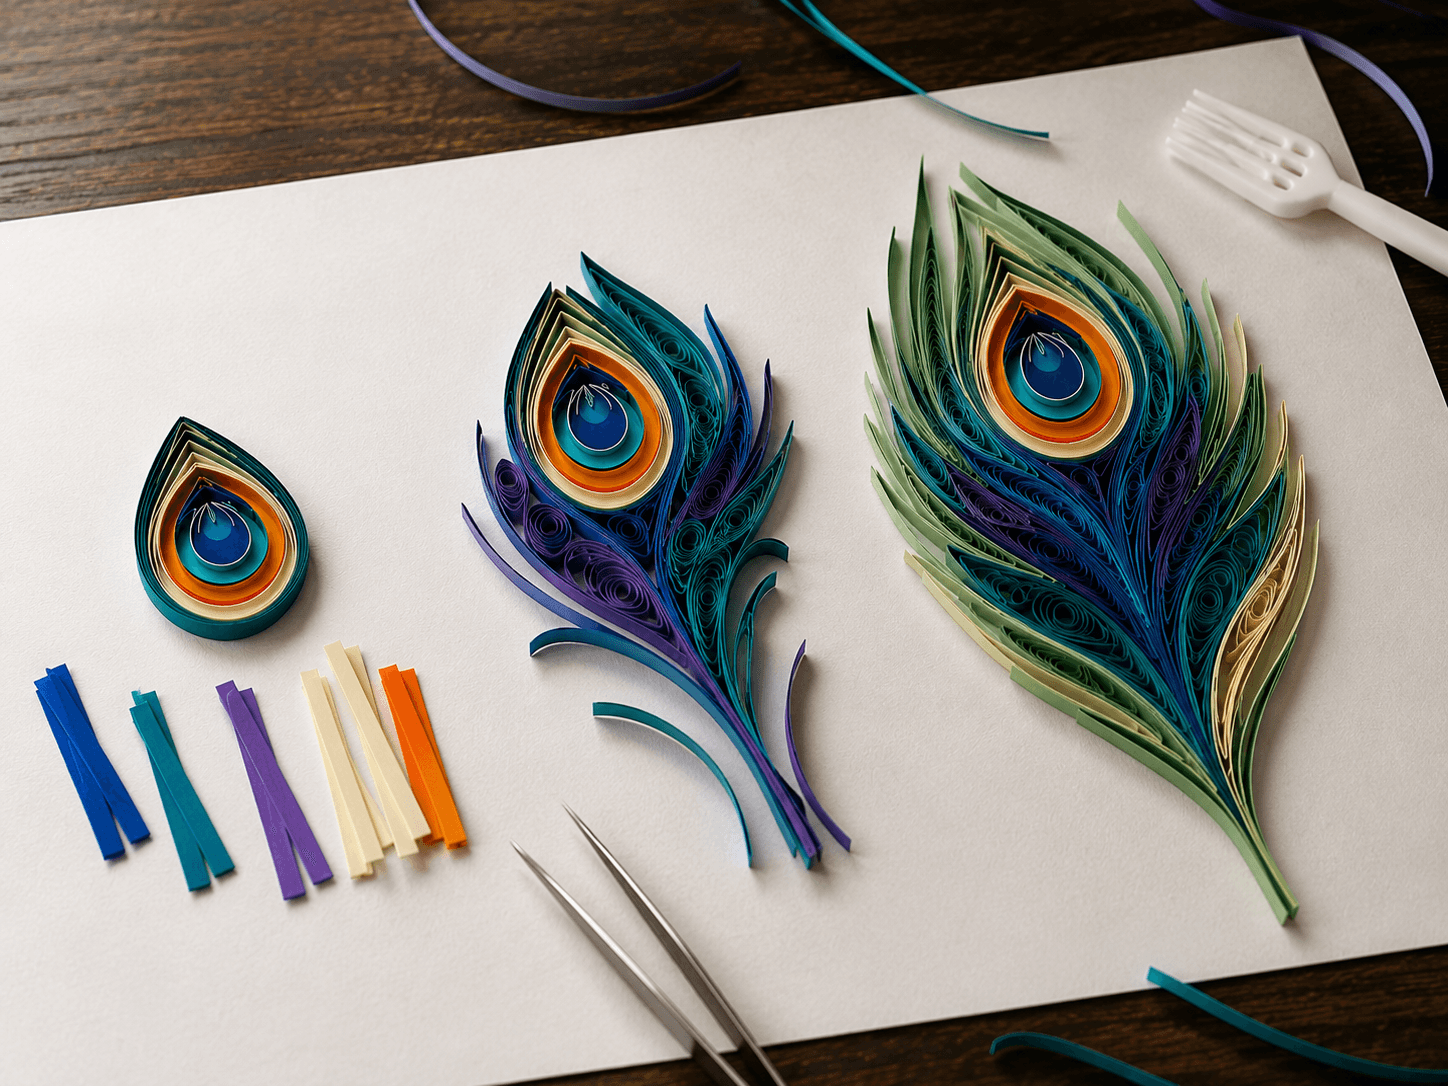
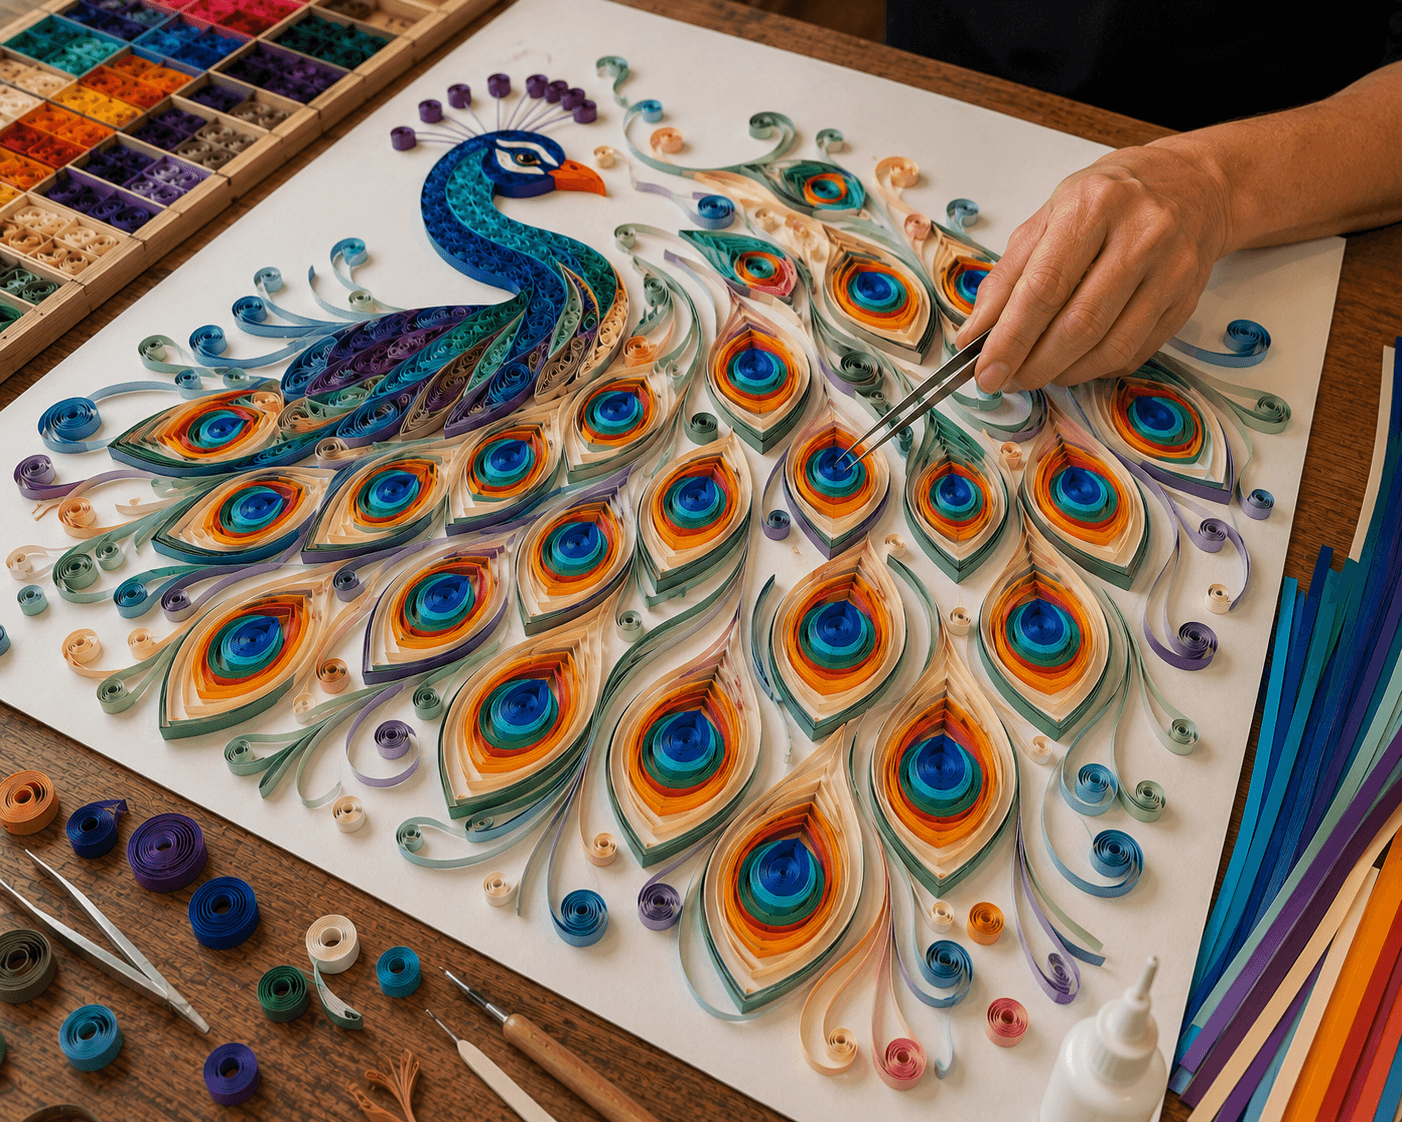
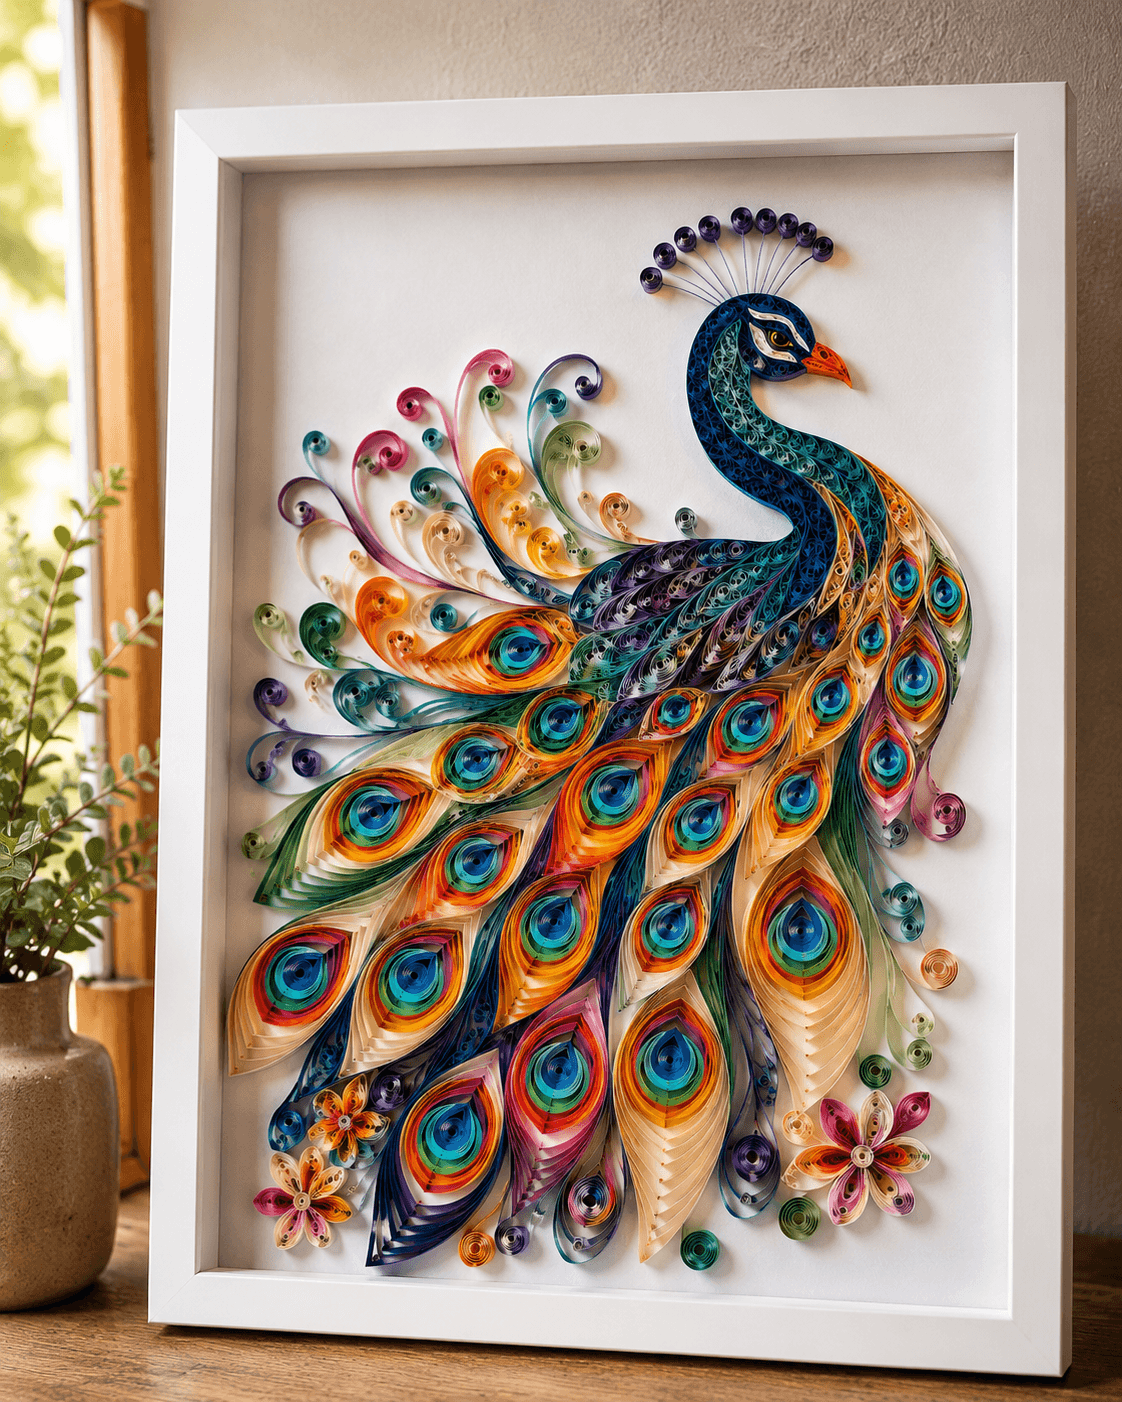
The full price for this course is $97. Honestly, for six structured modules, LIFETIME ACCESS, and a clear path to a piece most people assume takes years of skill, that's already a fair deal.
But this is a beta launch. Right now, I'm deliberately limiting the number of students so I can make sure everyone who joins actually finishes and gets real results, not just good intentions and a half-started project.
If this works the way I believe it will, the price goes up. If for some reason it doesn't deliver, the page comes down. Either way, this price is not permanent.
I'd rather have a small group of genuinely thrilled students than thousands of people who bought because it was cheap and never got past Module 1.
Total Value $156
Now Only
$27
One-time payment · Lifetime access forever
» Unlock Lifetime Access NowGet instant access to all 6 modules





🔒 Secure Checkout · Privacy Protected
You don't have to decide right now if this is right for you. Just get inside and try it. Go through the first two modules. Roll your first quills. Start building the peacock's body.
If at any point in the first 30 days you feel like this isn't for you, just send one email to hello@thecreationcorner.com and you'll get every penny back within 24 hours. No questions asked. No forms to fill out. No waiting around.
I'm not interested in keeping your money if you're not happy. That's simply not how I want to run this.
"You either love what you create... or you don't pay for it."
And to help you go even further...
I want you to feel completely ready from the moment you join, and once you start, nothing slows you down. So I've put together three extra resources, included free:
Get 3 FREE Bonuses If You Join Now
Everything you need to start fast and finish with confidence, included free.
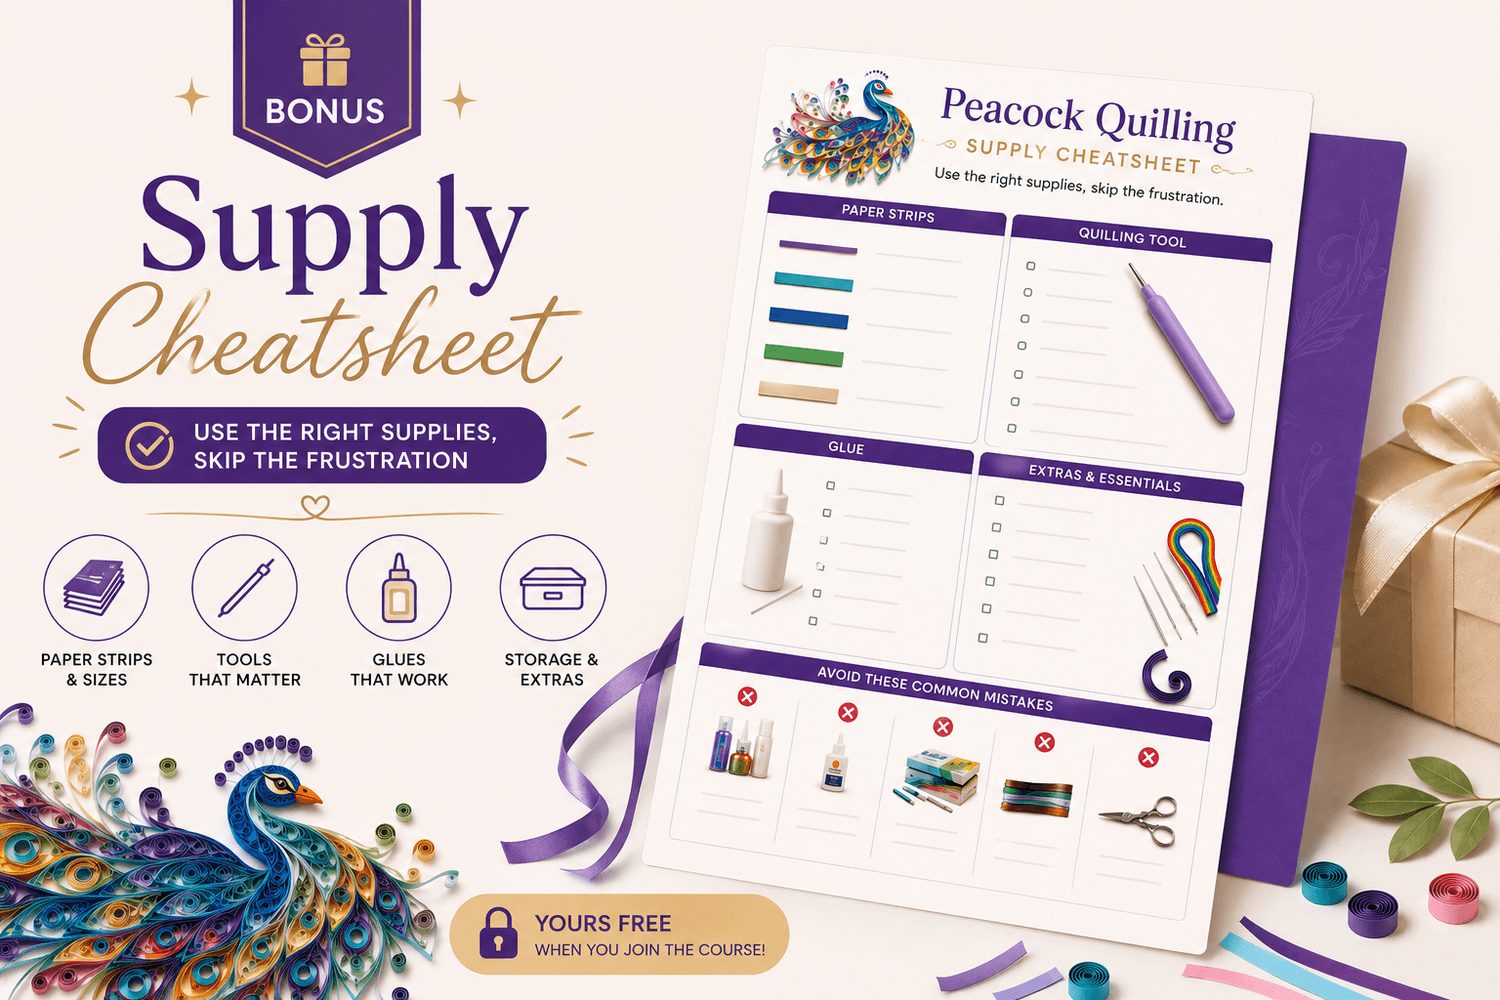
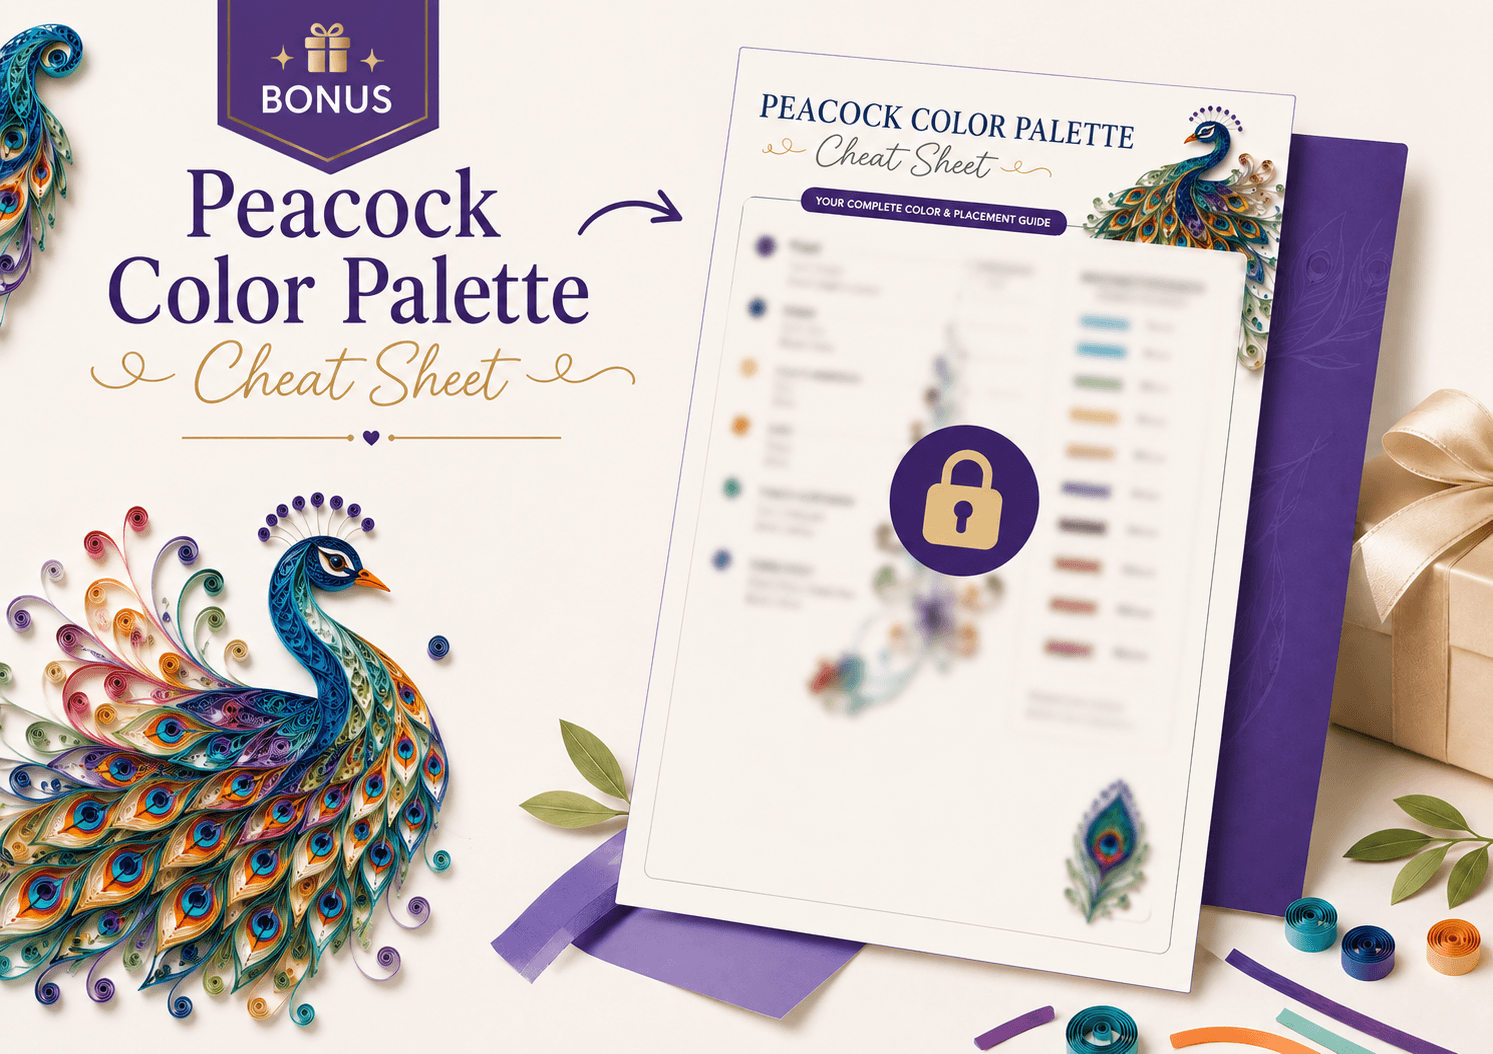
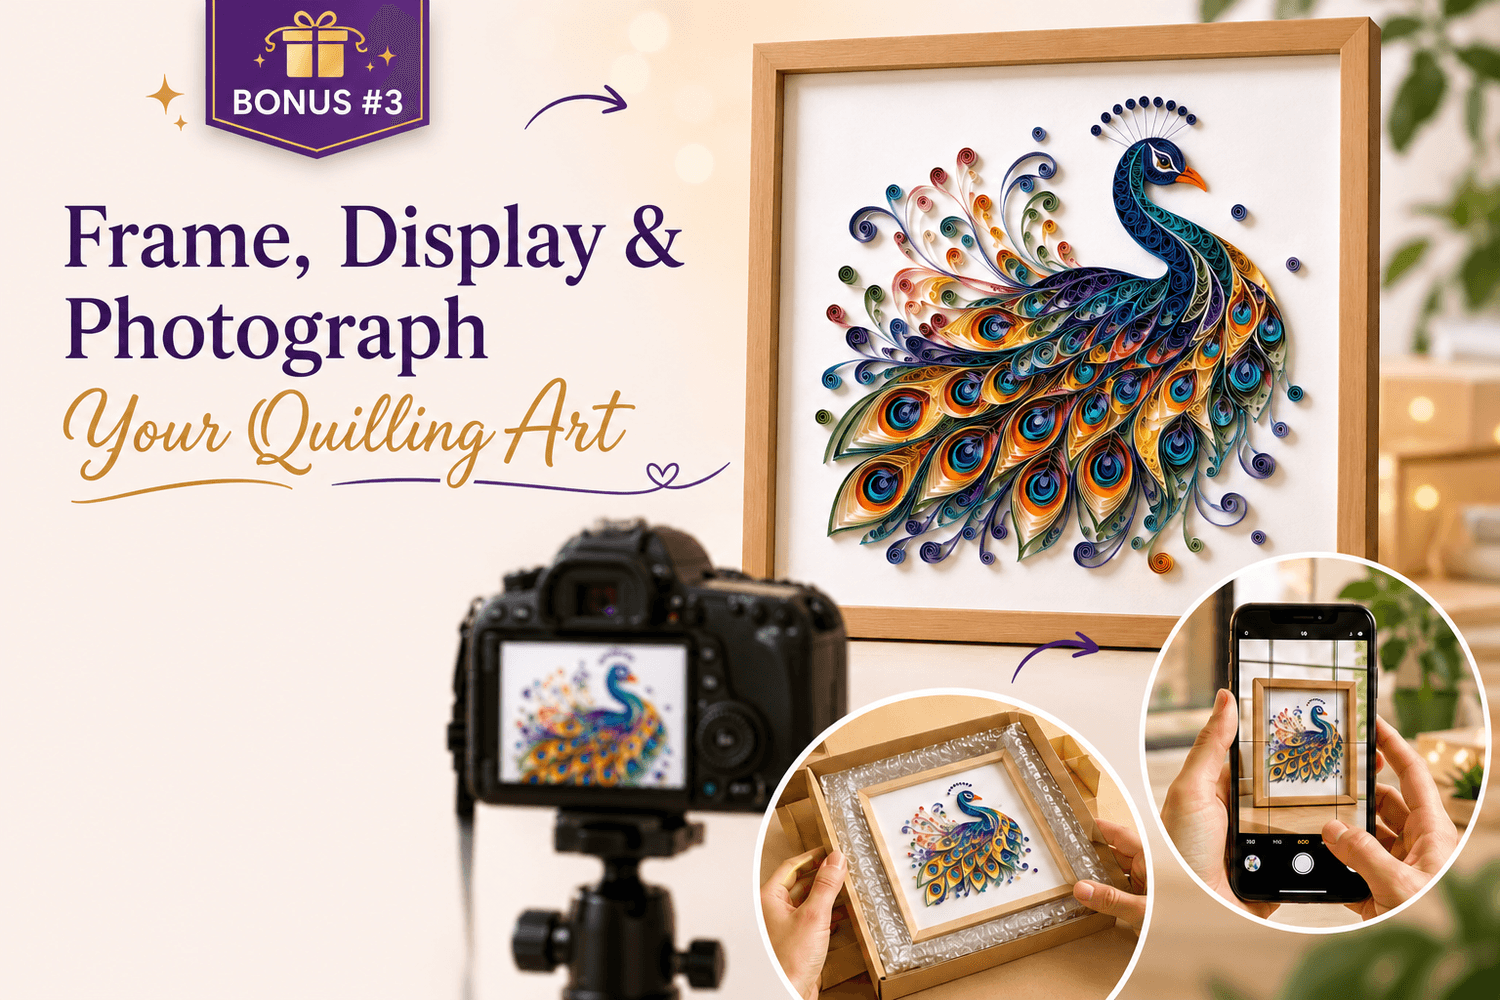
Here's Everything You're Getting So Far
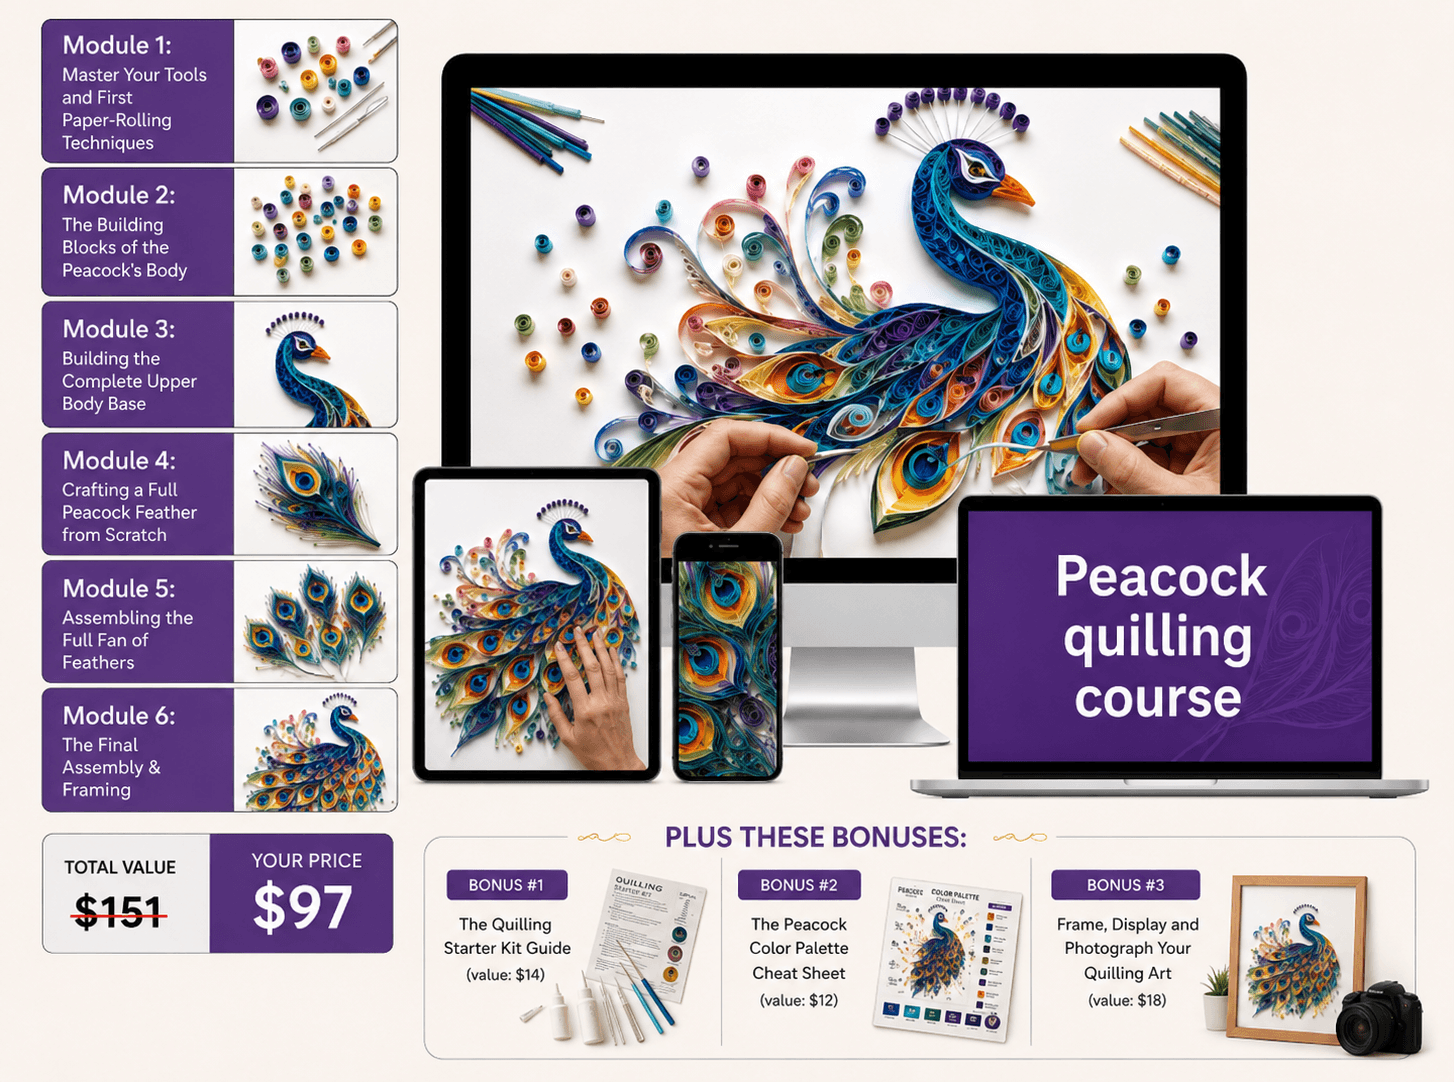
Total Value: $137
Total Value $156
Now Only
$27
One-time payment · Lifetime access forever
» Unlock Lifetime Access NowGet instant access to all 6 modules + 3 bonuses
🔒 Secure Checkout · Privacy Protected
Also Get This Limited-Time Bonus While You Still Can...
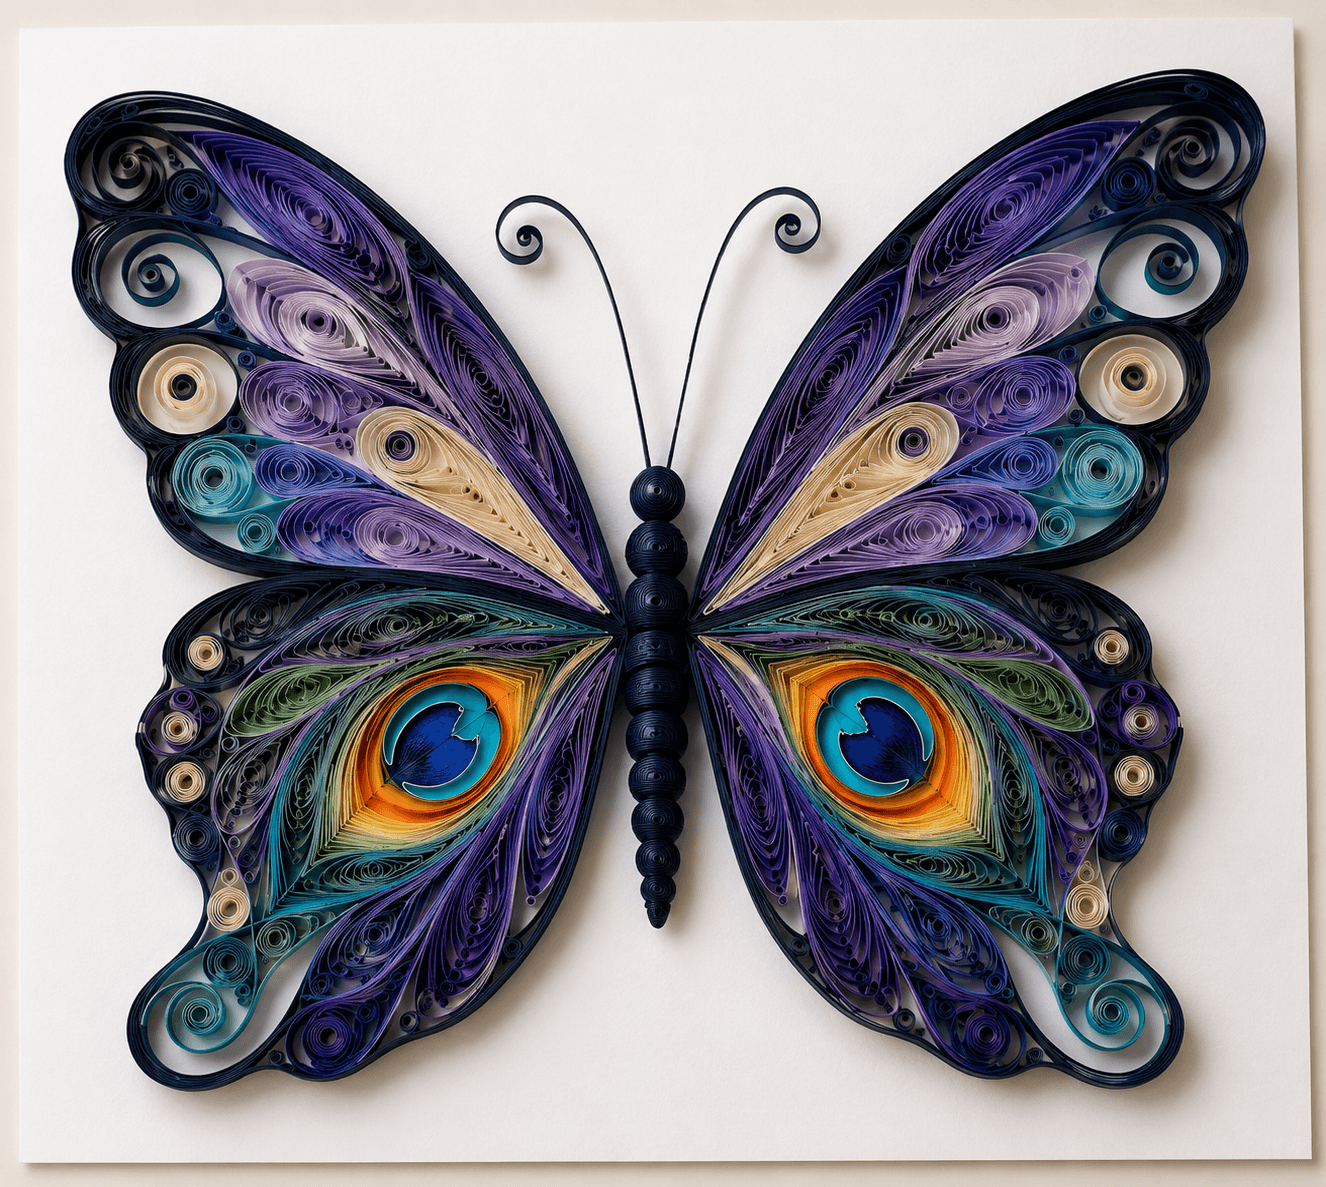
P.S. This bonus is only available while the timer above is running. After that, it’s gone.
Total Value $156
Now Only
$27
One-time payment · Lifetime access forever
» Unlock Lifetime Access NowGet instant access to all 6 modules + all 4 FREE bonuses
🔒 Secure Checkout · Privacy Protected
P.S. If the next page doesn't load... then you're too late.
Got More Questions? I Got You.
Need help? hello@thecreationcorner.com
Do I need any quilling experience before joining?
None at all. The course starts from your very first quills and builds up from there. If you’ve never held a quilling tool before, you’re in exactly the right place.
How much time does each module take?
This course is completely self-paced. Depending on your rhythm, you can easily complete this entire stunning project over a single weekend.
What supplies do I need, and where do I find them?
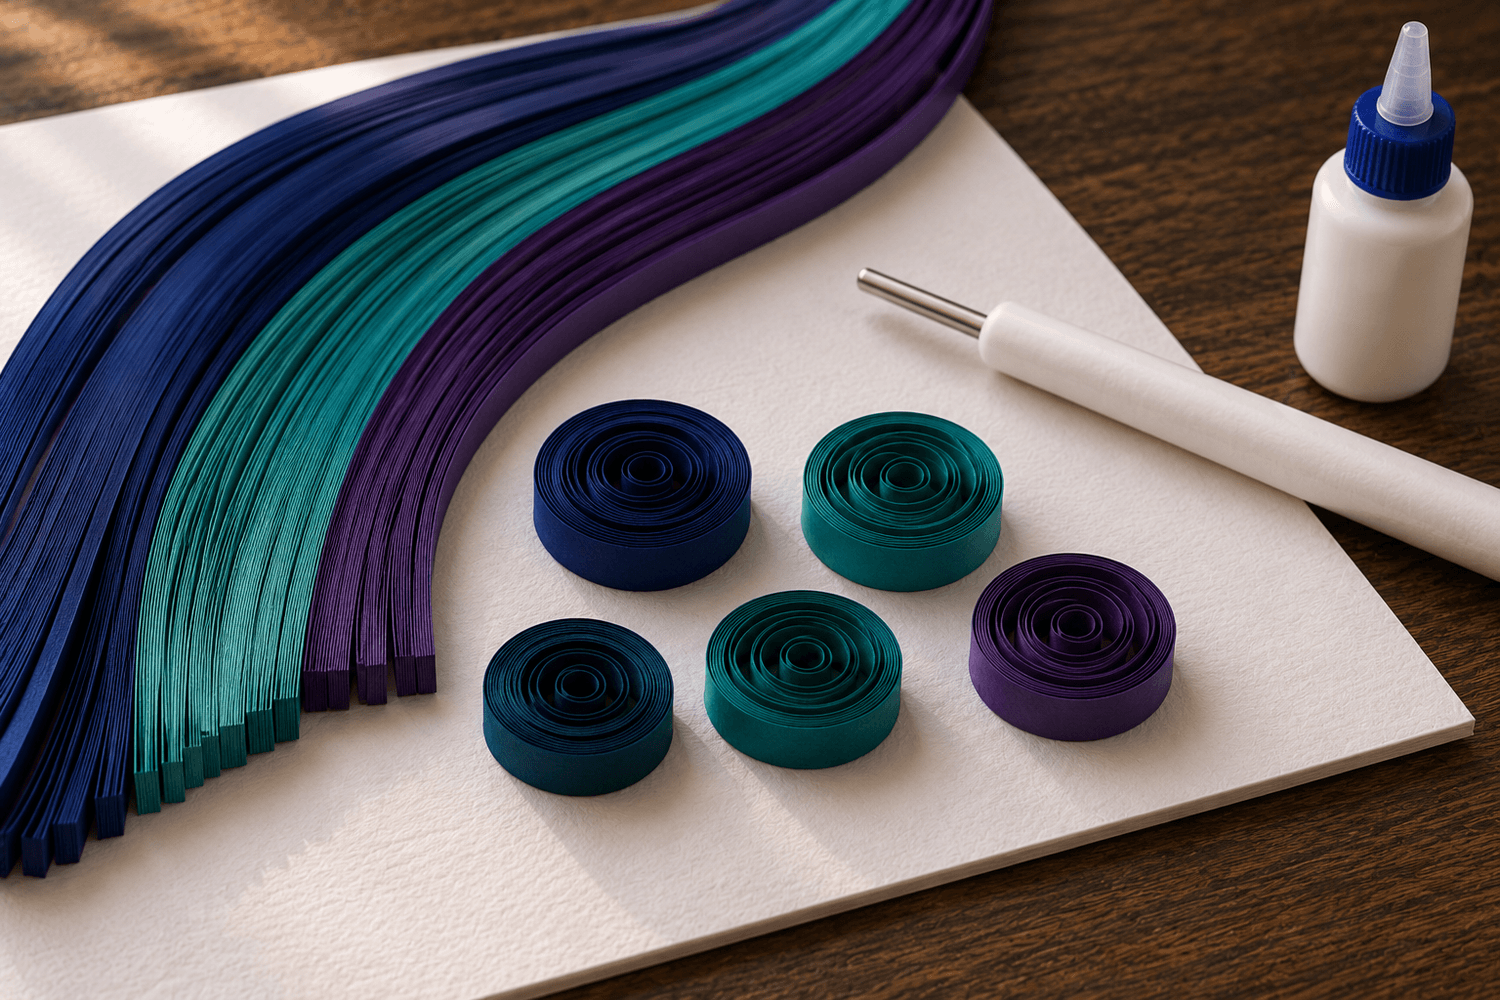
The Quilling Starter Kit Guide bonus covers this completely. Almost everything is available on Amazon or at any major craft store, and the full setup is very affordable.
How long do I have access to the course?
LIFETIME ACCESS. Once you’re in, you’re in, on mobile, tablet and computer. Revisit any module whenever you like.
Is there a refund policy?
Yes, a full 30-day money-back guarantee with no questions asked. If you’re not happy, email us and you’ll have every penny back within 24 hours.
Is this a one-time payment or a subscription?
One-time payment. $27, once. No recurring charges, no hidden fees, nothing else to buy.
My quills always come out wobbly and uneven. Will this fix that?
Yes, and Module 1 addresses this directly. Uneven quills almost always come down to tension and grip, not talent. Most students see a noticeable improvement in their very first practice session.
If you’ve read this far, you already know this is for you. Let’s go.
Here's Everything You're Getting Now For Just $27
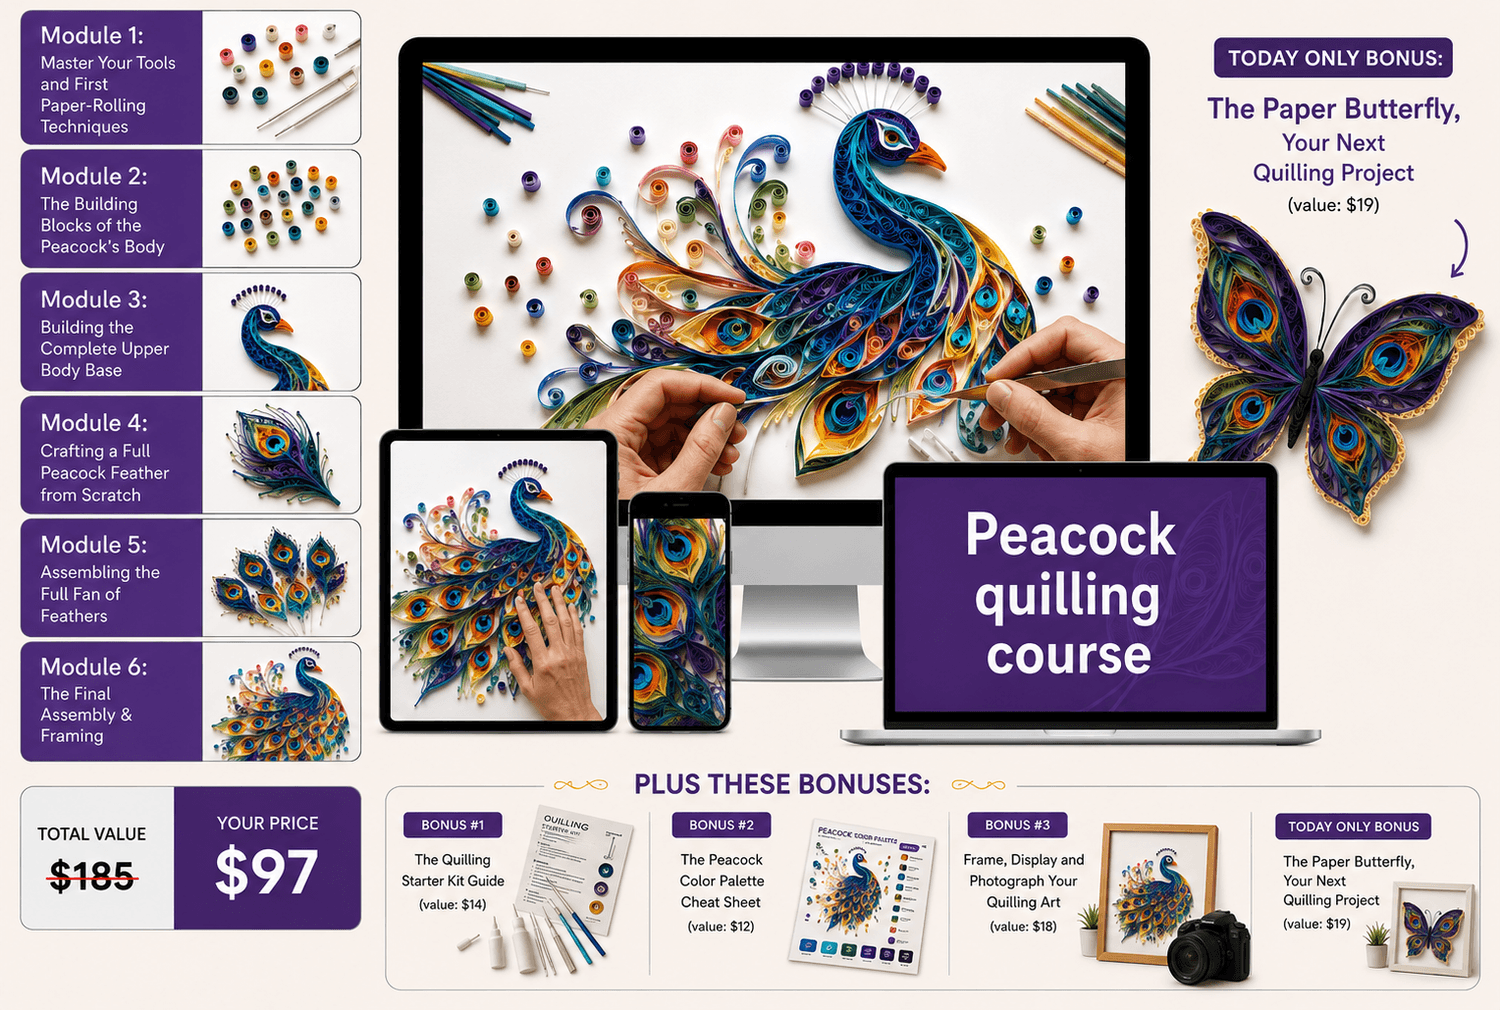
Total Value $156
Now Only
$27
One-time payment · Lifetime access forever
» Unlock Lifetime Access NowGet instant access to all 6 modules + all 4 FREE bonuses
🔒 Secure Checkout · Privacy Protected
© 2026 The Creation Corner. All Rights Reserved.
Privacy Policy | Terms & Conditions | Contact Us
This site is not a part of the Facebook or Instagram websites or Meta Platforms Inc. It is NOT endorsed by Meta in any way. FACEBOOK and INSTAGRAM are trademarks of Meta Platforms Inc.